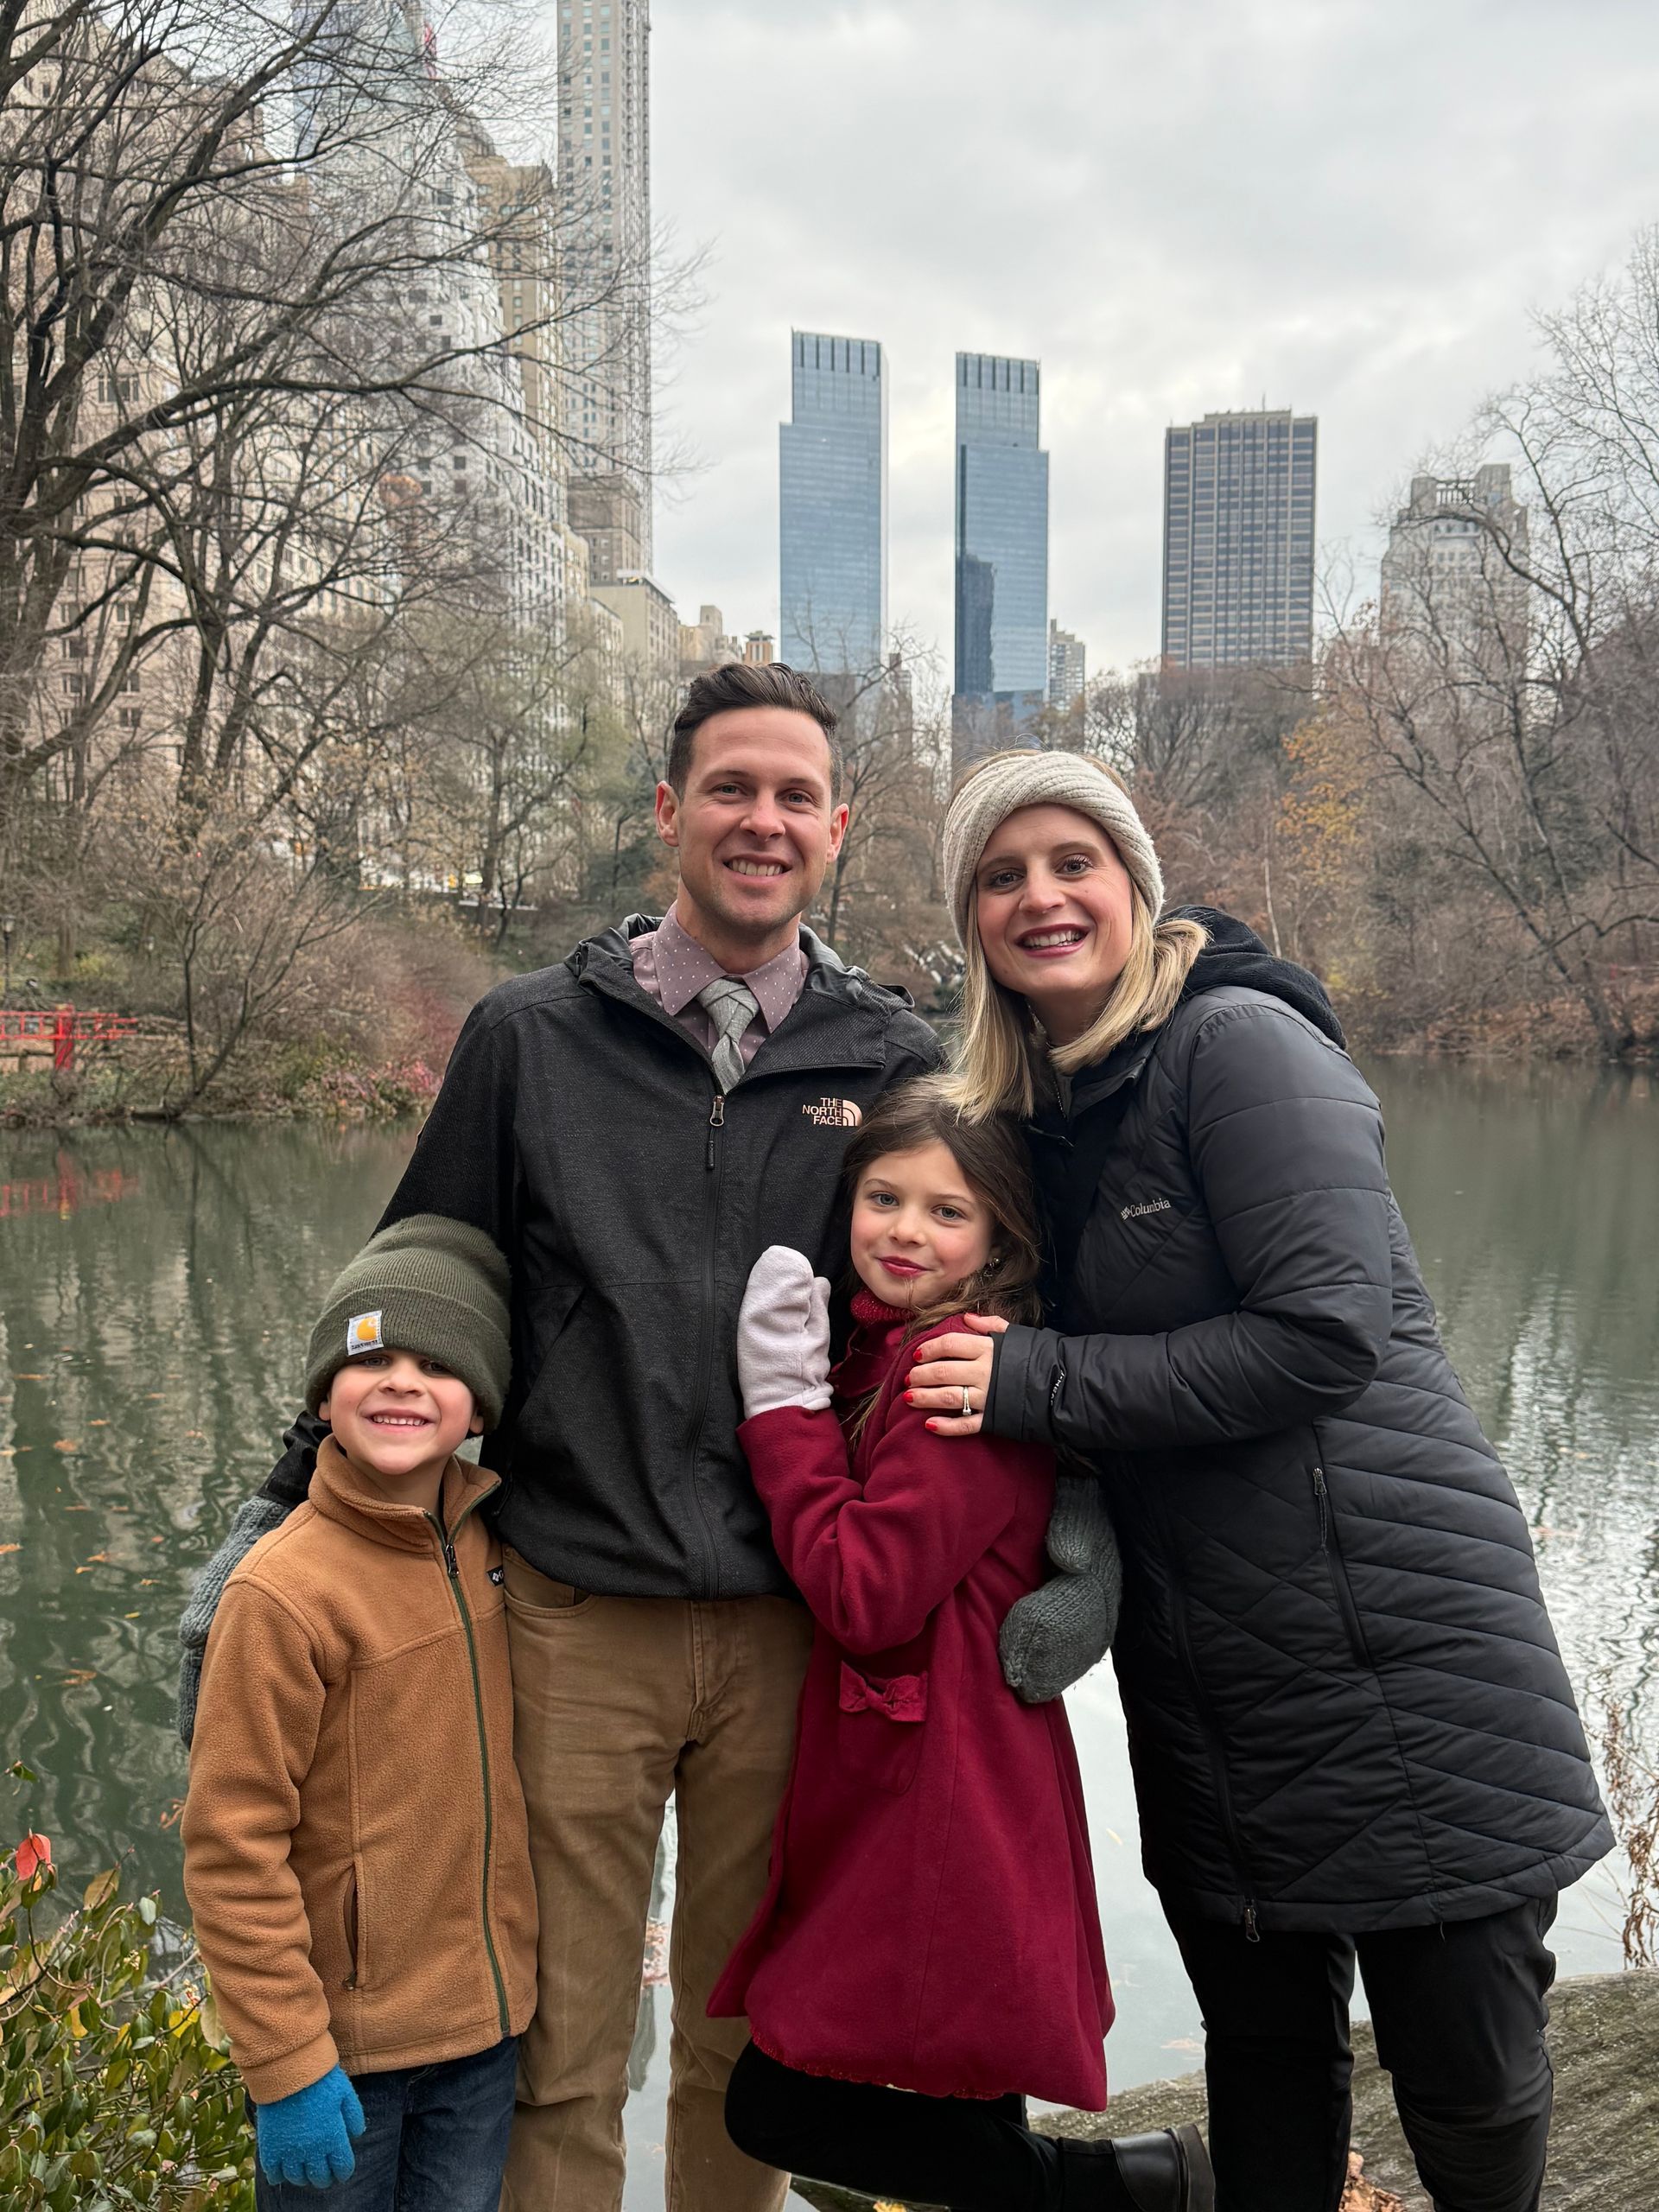
Not Your Typical Italy Vacation
We spent 11 days road-tripping through Europe with our two kids in a campervan! We flew into Munich, picked up our campervan, and headed south through the Dolomites before making our way back through Austria and Germany. I’m sharing our entire trip day by day—where we stayed, what we did, what everything cost, what we loved, what we would skip, and all the things we learned along the way. If you’re thinking about planning a campervan trip through Europe with kids, hopefully this helps you figure out what’s actually worth adding to your itinerary!
Day 1 – Munich, Campervan Chaos, and Our First Night in Italy
We drove 3 hours to Detroit to take a direct flight to Munich. It was a little over 8 hours. I don’t really have the best advice for sleeping on planes because I can’t sleep at all. Neither can Emsley. This trip, Tyler and Haddon didn’t sleep either. Our flight left at 4:30 PM, so it was kind of a weird time to take an “overnight” flight.
The first day is always rough, but worth it! You just gotta push through, unfortunately.
We landed in Munich around 7 AM. There is supposed to be new security with the EES system, and I’ve heard the lines can be insanely long. Thankfully, we went right to the front because we were a family. From there, they didn’t even take our pictures—they just stamped our passports. The whole process took 5 minutes!
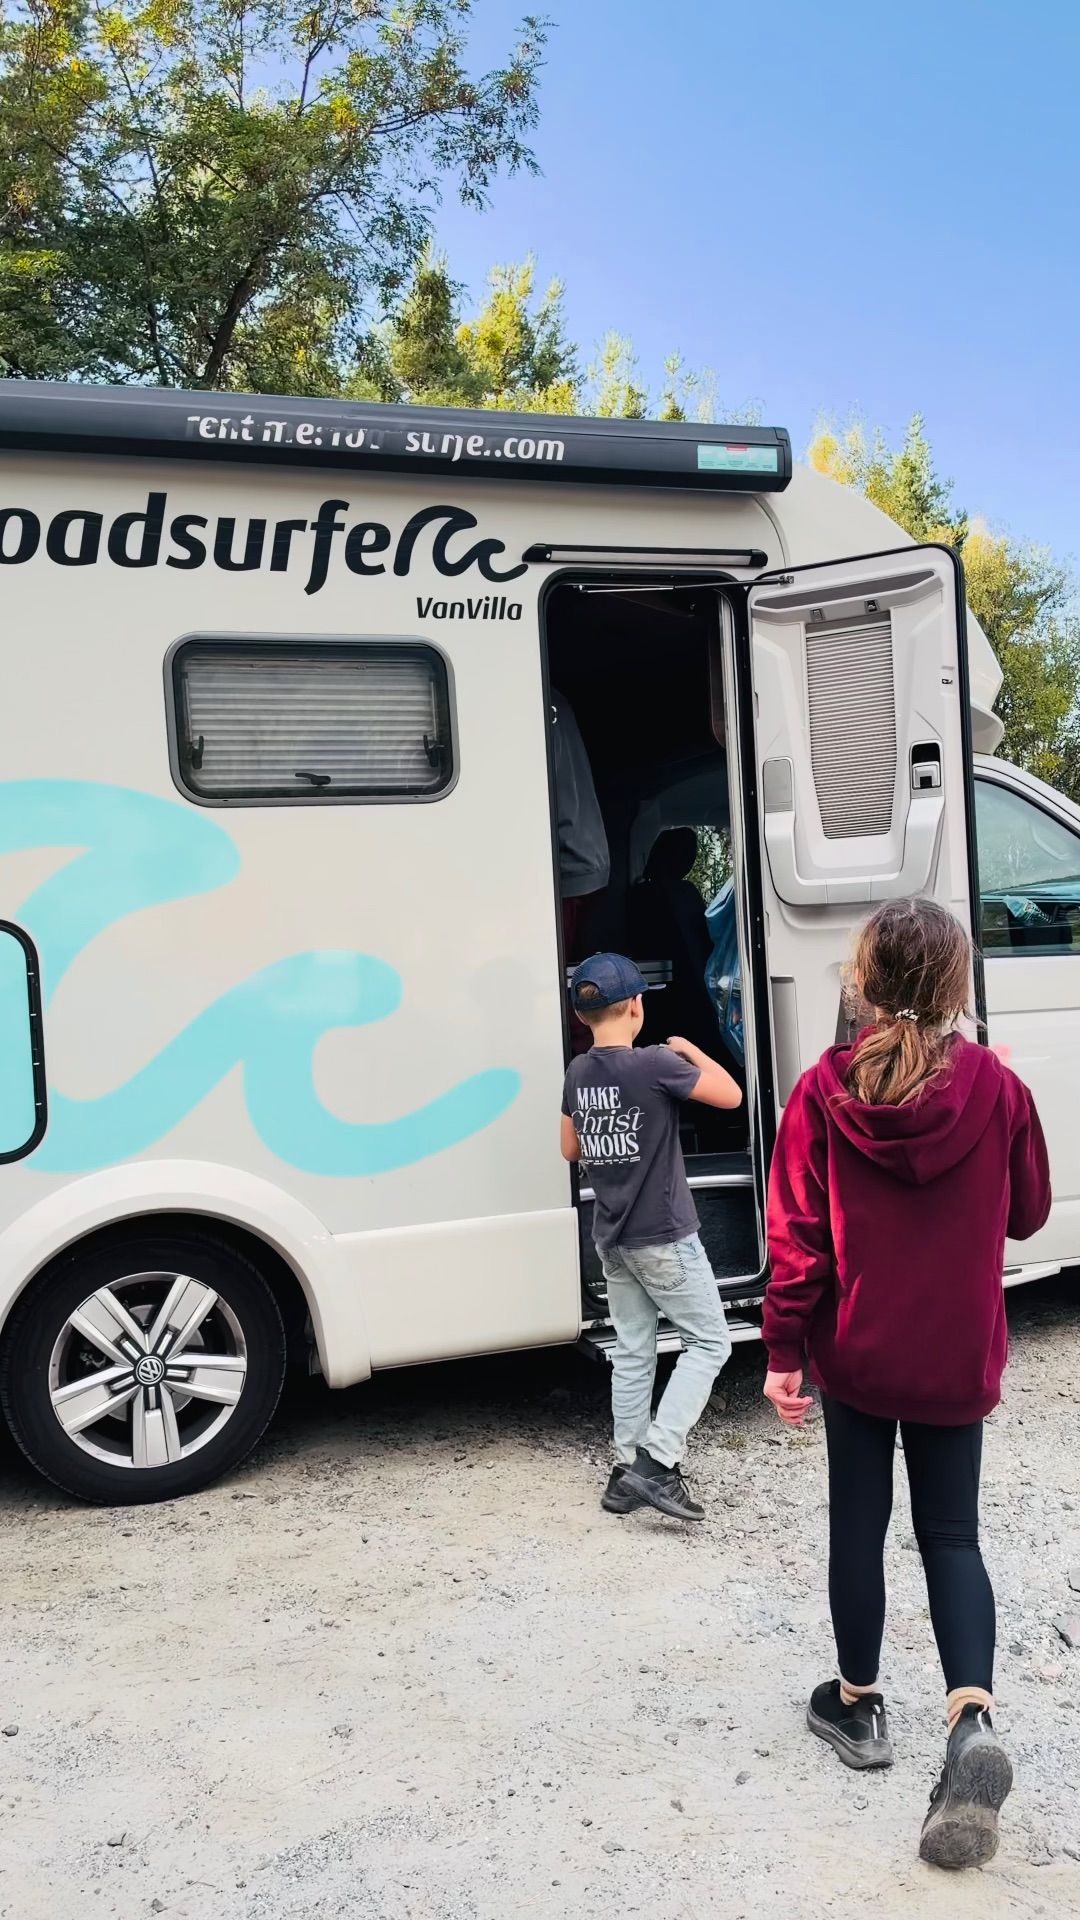
From there, we got an Uber to Lidl, which has a cafe right next to Roadsurfer. This is where we were scheduled to pick up our campervan at 10 AM. We went right to the cafe with our luggage, grabbed some drinks and pastries, and sat there for a bit. Around 9, we were bored and ready to get moving, so we walked over to Roadsurfer hoping we could get our van early.
Spoiler alert: Not only did we NOT get it early, we had to wait another 2 hours AND the first van was broken.
They told us at 9 that it wouldn’t be ready until 10. They hadn’t even cleaned or inspected it yet. We understood and waited until 10. At 10, they said it still wasn’t ready, they were short-staffed, and they hoped to have it ready in 15 minutes.
The van wasn’t ready until around 10:45. They do send videos beforehand for you to watch about how to use the van, but there’s nothing like having an actual person walk you through it. This is how the company we used in Norway did it, and it’s WAY better that way.
We got into the van and tried to figure out how to use everything. There was no water in it, so we couldn’t test the water system. You have to sign off that everything is working before you take the van, so obviously we needed to test it.
After 20 minutes of waiting for someone to get us water to fill the tank, we finally tried it out... and water leaked everywhere inside the van.
Another 20 minutes later, we finally got a manager who said it needed to be fixed and they didn’t know when it would be ready. At this point, we got firm and said no way—we needed a new van now.
They said, “Give us a minute,” and found another van. They told us everything should be good to go, so we left. We didn’t check everything again, even though we signed off on it.
Oh! And they didn’t put in the extra chairs and dishes I paid for either. Thankfully, I noticed that before we left.
There were some other items missing from the van, including the ladder for the kids to get up into their bed, and their blinds were broken too. I’m writing this while we are still on our trip, so I’m curious to see what kind of trouble dropping the van off is going to be. 😂
Once we finally got our van, we headed straight to Italy. It was around a 3-hour drive. We originally wanted to stop in Germany for a bit, but because we were so behind, we decided to get right to our first campsite.
Our first campsite was Löwenhof Campground in Varna, Italy.
This part of Italy is really interesting because it used to be part of Austria before WWI. So most people here actually speak German, although Italian is spoken too. Not everyone understands English, but most people we encountered did.
This campsite didn’t have jaw-dropping mountain views, but it was right in town and within walking distance of coffee shops and grocery stores. The bathrooms were immaculate, and the campground also has a hotel, so there is a restaurant as well. They even have gelato, and it looked amazing!
We were exhausted, so we were asleep by 8 PM the first night.
Day 2 – WoodyWalk: Our First Family Hike in the Dolomites
Tyler and the kids slept about 3 hours later than me, so it was SO nice being right in town. We were next to the bike trail, so I grabbed a cappuccino, went for a long walk, and wandered around the grocery store for a bit.
From there, we checked out and headed to our first hike of the trip.
If you are planning to do WoodyWalk at Plose, you’ll want to stay around Varna or Brixen. Many of the hotels and campgrounds give you complimentary Plose gondola passes when you stay there. This is super helpful because round-trip gondola tickets for a family can cost over $100! Getting them included with the campground was HUGE.
We LOVED WoodyWalk.
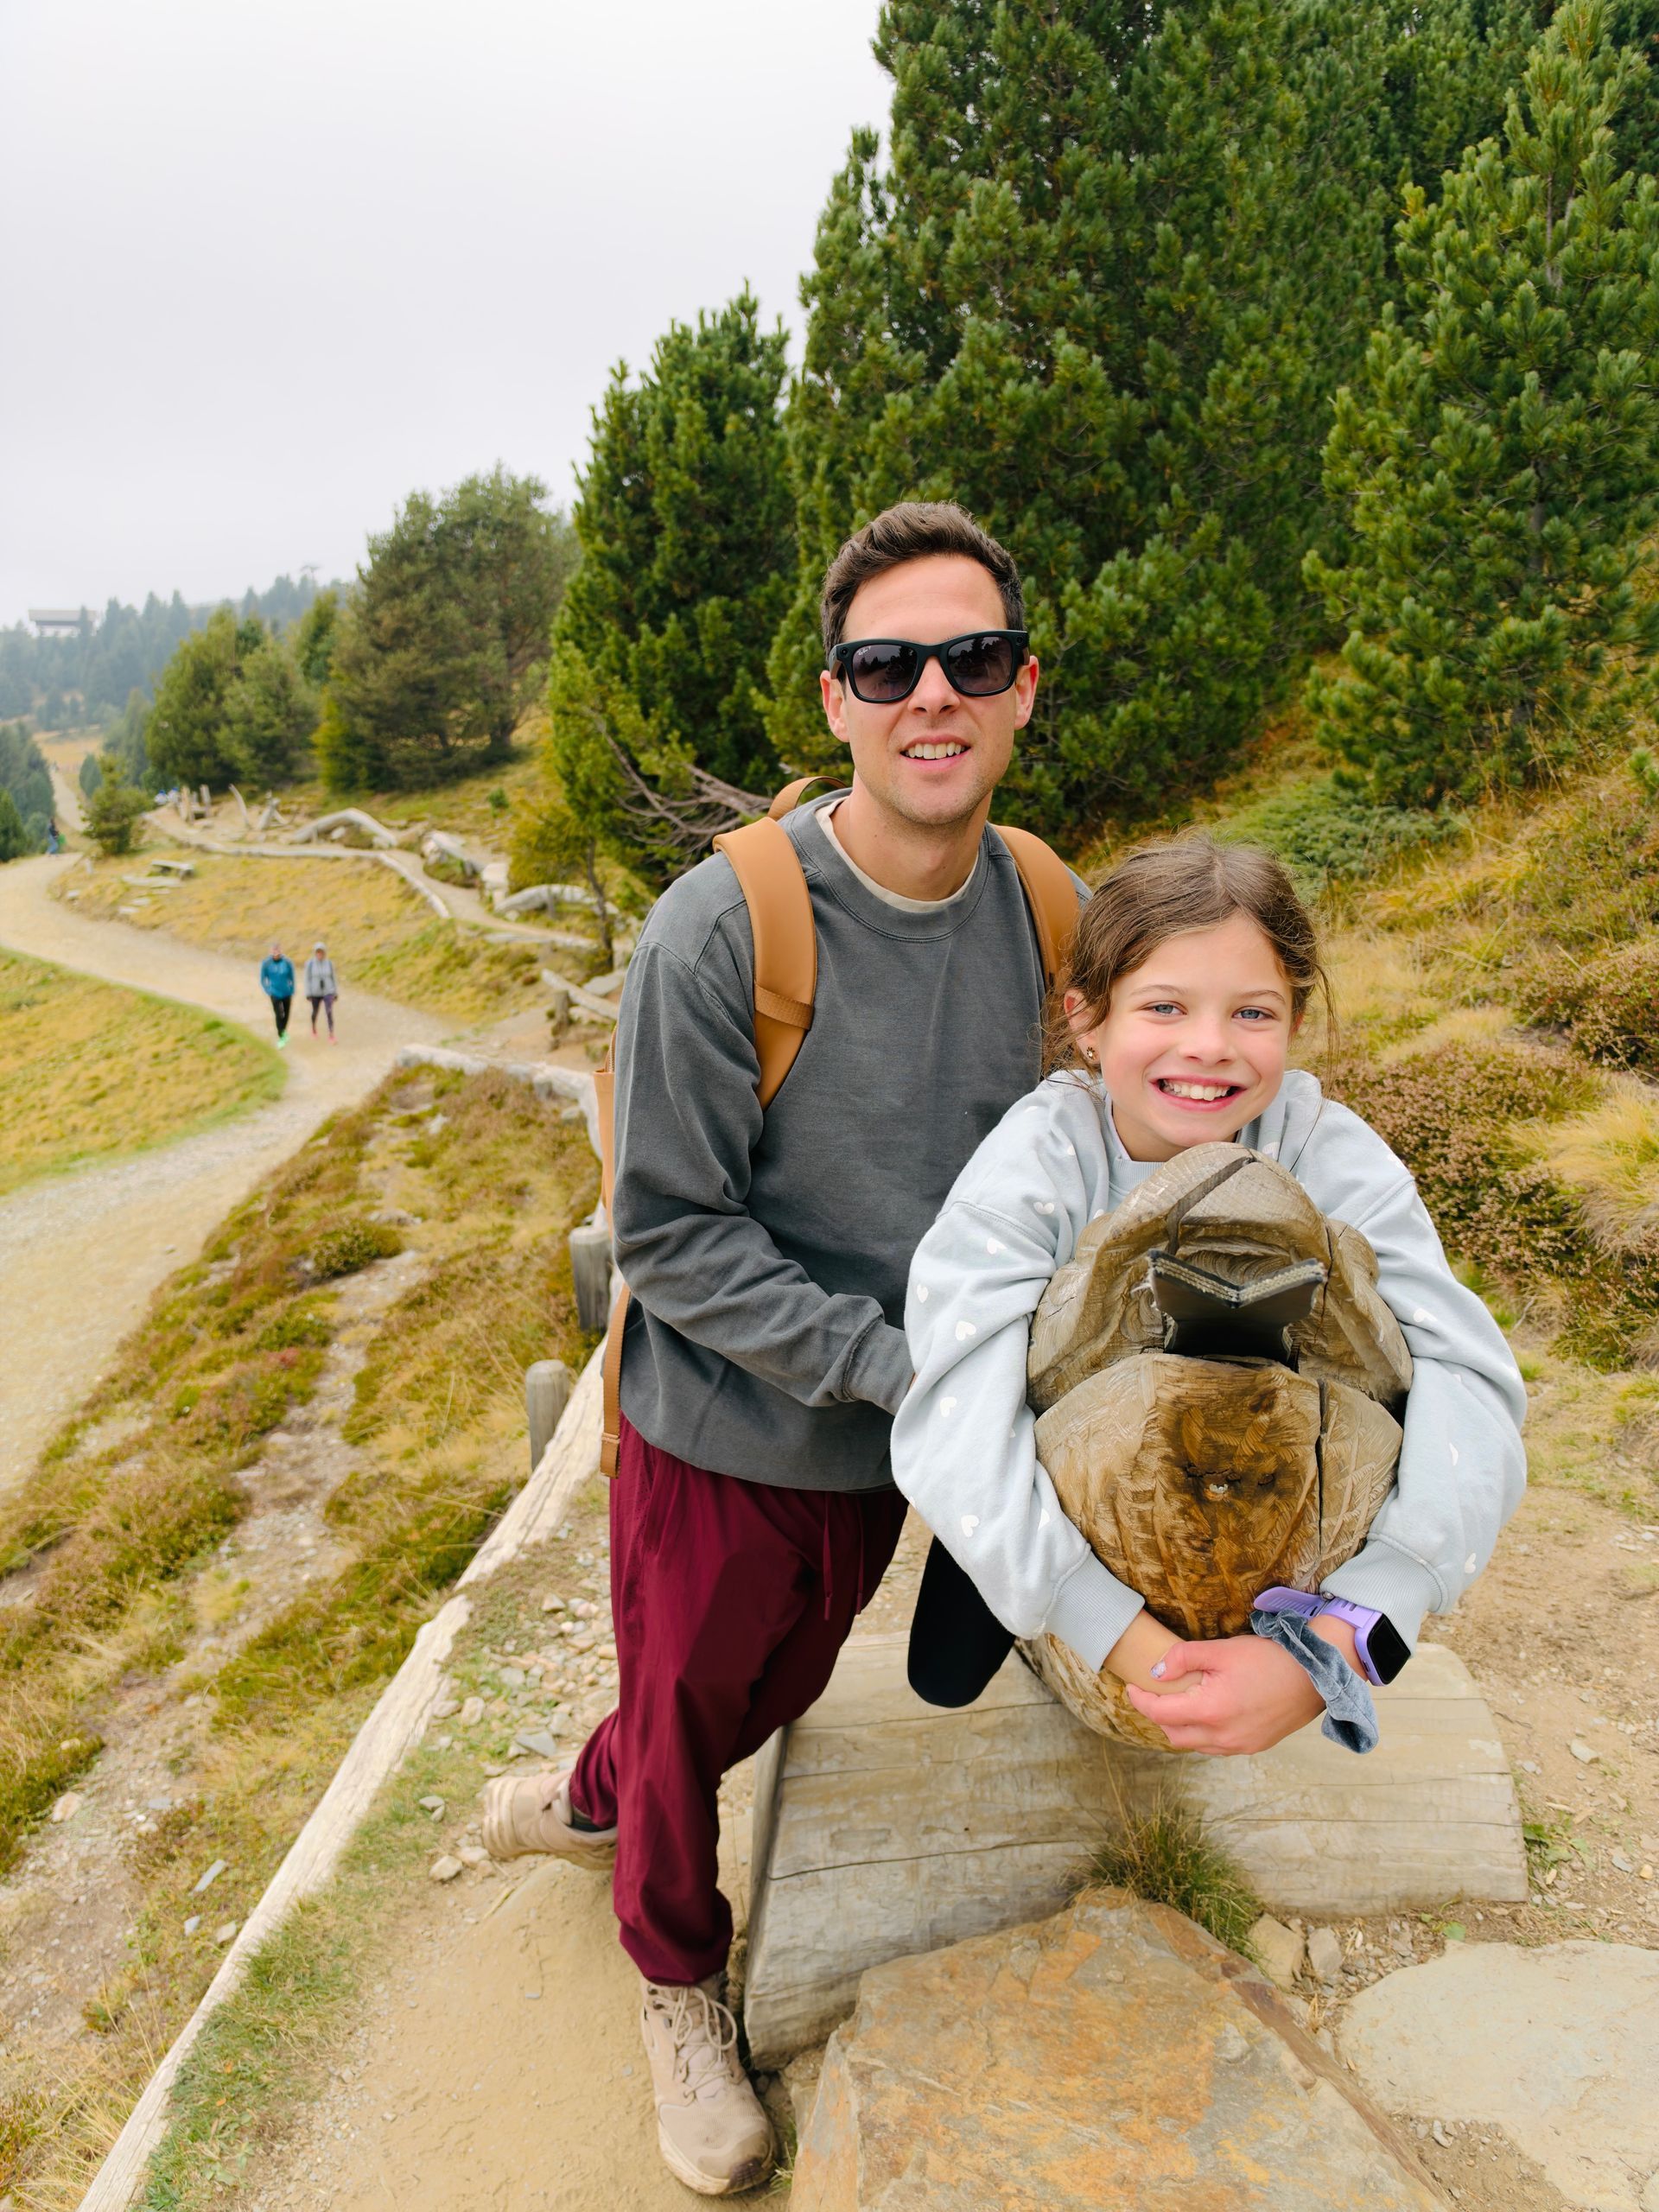
You take the gondola up and then hike one of the most family-friendly trails. It’s about 1.7 miles each way, and there are so many fun stops along the trail where kids can play, climb, and explore.
Heads up: There are “marble” runs throughout the trail where you use these larger wooden balls. Make sure to stop and buy the wooden balls in the gift shop BEFORE you start your hike. You can use a credit card there. Otherwise, you’ll need euro coins to buy them along the trail.
We also ate at Rossalm Refugio for lunch once we got to the end of the hike. The food was SO good!!!
There is supposed to be an amazing view from up there, but unfortunately, it was completely covered in clouds while we were there.
After we ate, we hiked back and did the Plose Mountain Coaster. It was around $45 for the four of us, and it was really fun! Then you take the gondola back down.
I think we spent around 4 hours here in total.
I would rate this a 10/10. You can’t miss this!
From there, we had about a 1.5-hour drive to Caravan Park Sexten, where we would be staying for the next 3 nights.
Day 3 – Mount Baranci, Mountain Coasters, and a Luxury Campground
The goal for this day was to go up Mount Baranci. We checked the weather, and it wasn’t looking great because of the cloud cover. Instead, we took the morning really slow and left late morning to head to the town at the base of Mount Baranci, San Candido, for a little shopping before heading up the mountain.
This town is SO cute!!!!
Beware, though—in this part of Italy, many places take a siesta from around 12 to 3. A lot of the shops close, even the store at our campground! We had about 30 minutes to shop before everything closed.
I recommend visiting the church in the center of town, St. Michael’s Parish Church. The church dates back hundreds of years, and both the cemetery surrounding the church and the inside are beautiful. It’s very small, so you can easily see it in about 10 minutes or so.
If you love wool, I recommend the Haunold store. I bought wool slippers made right there in South Tyrol, Italy. Haddon bought a hat (he looks so cute!), and Tyler got some wool socks.
From there, we made sandwiches in our campervan and headed across the street to the base of Mount Baranci.
There is a pass you can buy called the 3 Zinnen Mountain Card, but since this was the only chairlift we were doing in this region, we didn’t buy the pass and just bought tickets for Mount Baranci.
PRO TIP: The Fun Bob here takes you allllllll the way back down to the base. It’s different from Plose. We didn’t realize that until AFTER we bought round-trip lift tickets. So I lost some money there. 😂
For our family of four, it was around $70 for round-trip lift tickets and around $60 for the Fun Bob on the way down.
Once you get to the top, there is a trail called the Giant’s Trail. The story goes that a giant built the trail and all of the structures along it. He was paid with a cow and wine 😂
You walk along the trail and see all of these giant wooden scenes and objects—large spoons, giant glasses, a huge bathtub, etc. Everything is giant-sized.
It’s a big circle. I recommend going the opposite direction from the kids/adult trail and following the direction marked for “strollers.” It’s less steep. Both directions are steep, but I think going the stroller direction would be easier.
I would rate the Giant’s Trail a 6/10. I might even go lower if it weren’t for the Fun Bob.
We LOVED the Fun Bob!
The line was over an hour long, though, so beware if you have little kids. It’s a long wait. Kids 7 and younger are required to ride with an adult, while kids 8 and older ride alone.
After this, we went back to our campground, had dinner, and swam in the pool.
Caravan Park Sexten feels more like a resort than a campground. The camp store is massive and has basically everything you could ever want, including a rock climbing wall!
The pool and sauna area is also amazing. The pool has different areas, both indoor and outdoor, and also has a calcium pool and a selenium pool. All of the pools are warm—even the main pool. They’re warmer than pools in the U.S., but not as hot as a hot tub.
They also have a fun “quiet room” and an adults-only sauna area.
The sauna is a naked sauna. Like butt-naked naked. 😂 Men and women together.
If you don’t mind that, I would give the sauna area a 10/10. I’ve never seen anything like it. There were SO many different saunas and steam rooms. Some were even outdoors, and there was a warm outdoor pool too.
I could have worn my towel without a swimsuit, but every single person was naked with no towel. One sauna had probably 30 naked men and women just sitting in there together chatting, and I felt so weird that I just left. 😂
Yes, it’s very American of me, but I don’t feel comfortable sitting naked in a sauna with men. I would still feel uncomfortable with women, but I probably would have done it if it were separated by gender.
The pool area for kids, though? 10/10. They even have a separate area for littles too!
Day 4 – Lago di Braies, a Failed Hike, and an Unexpected Change of Plans
This day, we decided to pivot a little!
We heard that Lago di Braies would be better in the afternoon, so we decided to take another gondola up the mountain and do the Klammbachalm hike first.
To get here, you take the Stiergarten gondola. At the end of the hike, there’s a mountain refuge known for its Kaiserschmarrn, a traditional Austrian dessert that we had been DYING to try!
This hike is also part of the 3 Zinnen region. We hadn’t originally planned to do it, but I decided at the last minute to add it to our itinerary.
Spoiler alert: This did NOT turn out well. Keep reading.
The gondola was around €80 round-trip for the four of us. Gondolas are EXPENSIVE, so keep this in mind when planning your trip. This trip will probably cost more than some of the other European trips you’re used to taking, especially if you plan to go up the mountains every day.
One thing worth mentioning: At this gondola, they were VERY insistent on checking our son’s passport to verify his age. He’s tall for 7, and they didn’t want to give him the free kids’ ticket.
We hadn’t had this issue at any of the other gondolas.
Thankfully, we happened to have our passports in the campervan, but normally we don’t walk around carrying them. I wasn’t mean, but I was firm. I explained that we’d been riding gondolas daily and hadn’t had anyone ask us for passports before.
She finally gave in, but just be aware that you might be asked to prove your child’s age.
Now, let’s talk about the hike.
Klammbachalm is a relatively short hike that’s mostly downhill on the way there. The hike back UP is the hard part.
And now for the bad part.
Apparently, the day we visited, the refuge was CLOSED!!!!!
I literally started to cry.
We had been wanting to try Kaiserschmarrn SO badly, and I couldn’t believe we had just paid almost $100 to come up here for what felt like nothing.
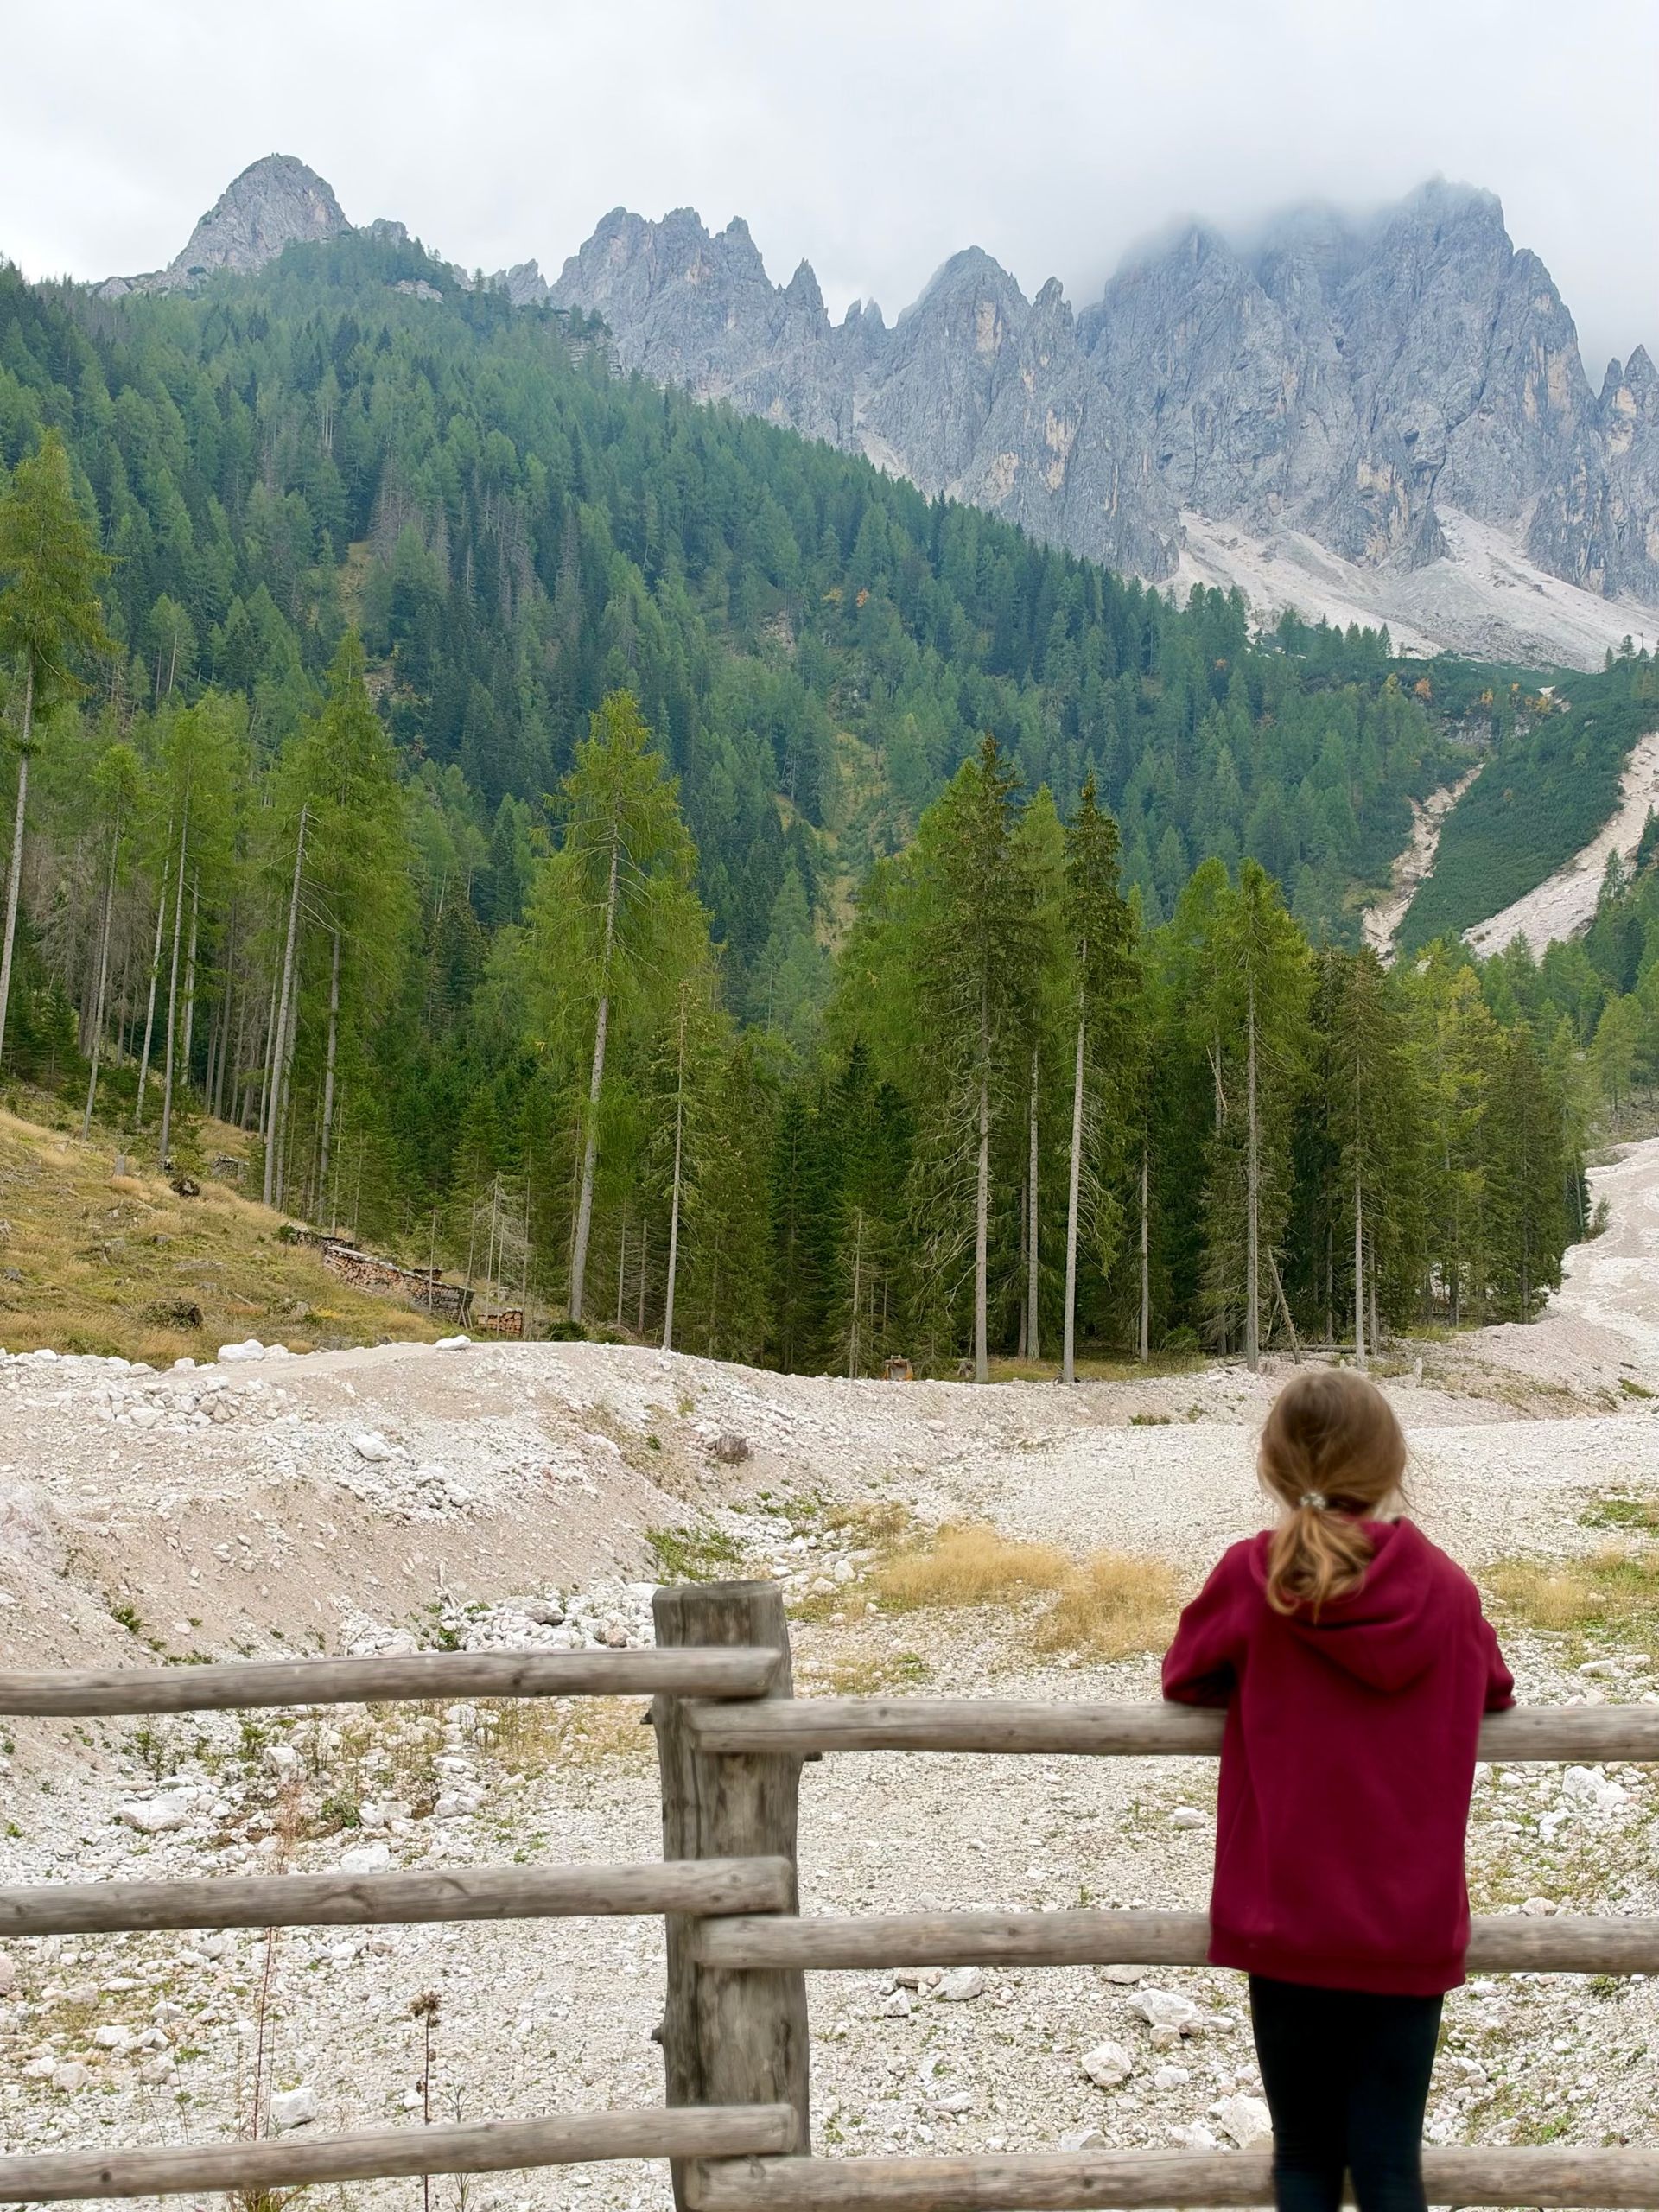
The hike itself is actually really pretty. There were cows with bells wandering around, and the whole experience felt magical on the way there.
But once we realized the refuge was closed and we weren’t getting our Kaiserschmarrn, we were ALL very grumpy. 😂
I’m not sure if they’re always closed on Thursdays or if we just got unlucky, but PLEASE check before you go!
Next stop: Dobbiaco!
After that disappointment, we desperately needed a pick-me-up, so we drove to a nearby town called Dobbiaco.
It’s SO cute!!!
Have I mentioned yet that most places in this part of Italy close from around 12 PM to 3 PM? Because it’s something you definitely need to plan around.
Thankfully, the gelateria was OPEN!
We visited Gelateria Cristallino, and it was SO good. I highly recommend the pistachio!
We wandered around town for about 30 minutes before heading to our next stop.
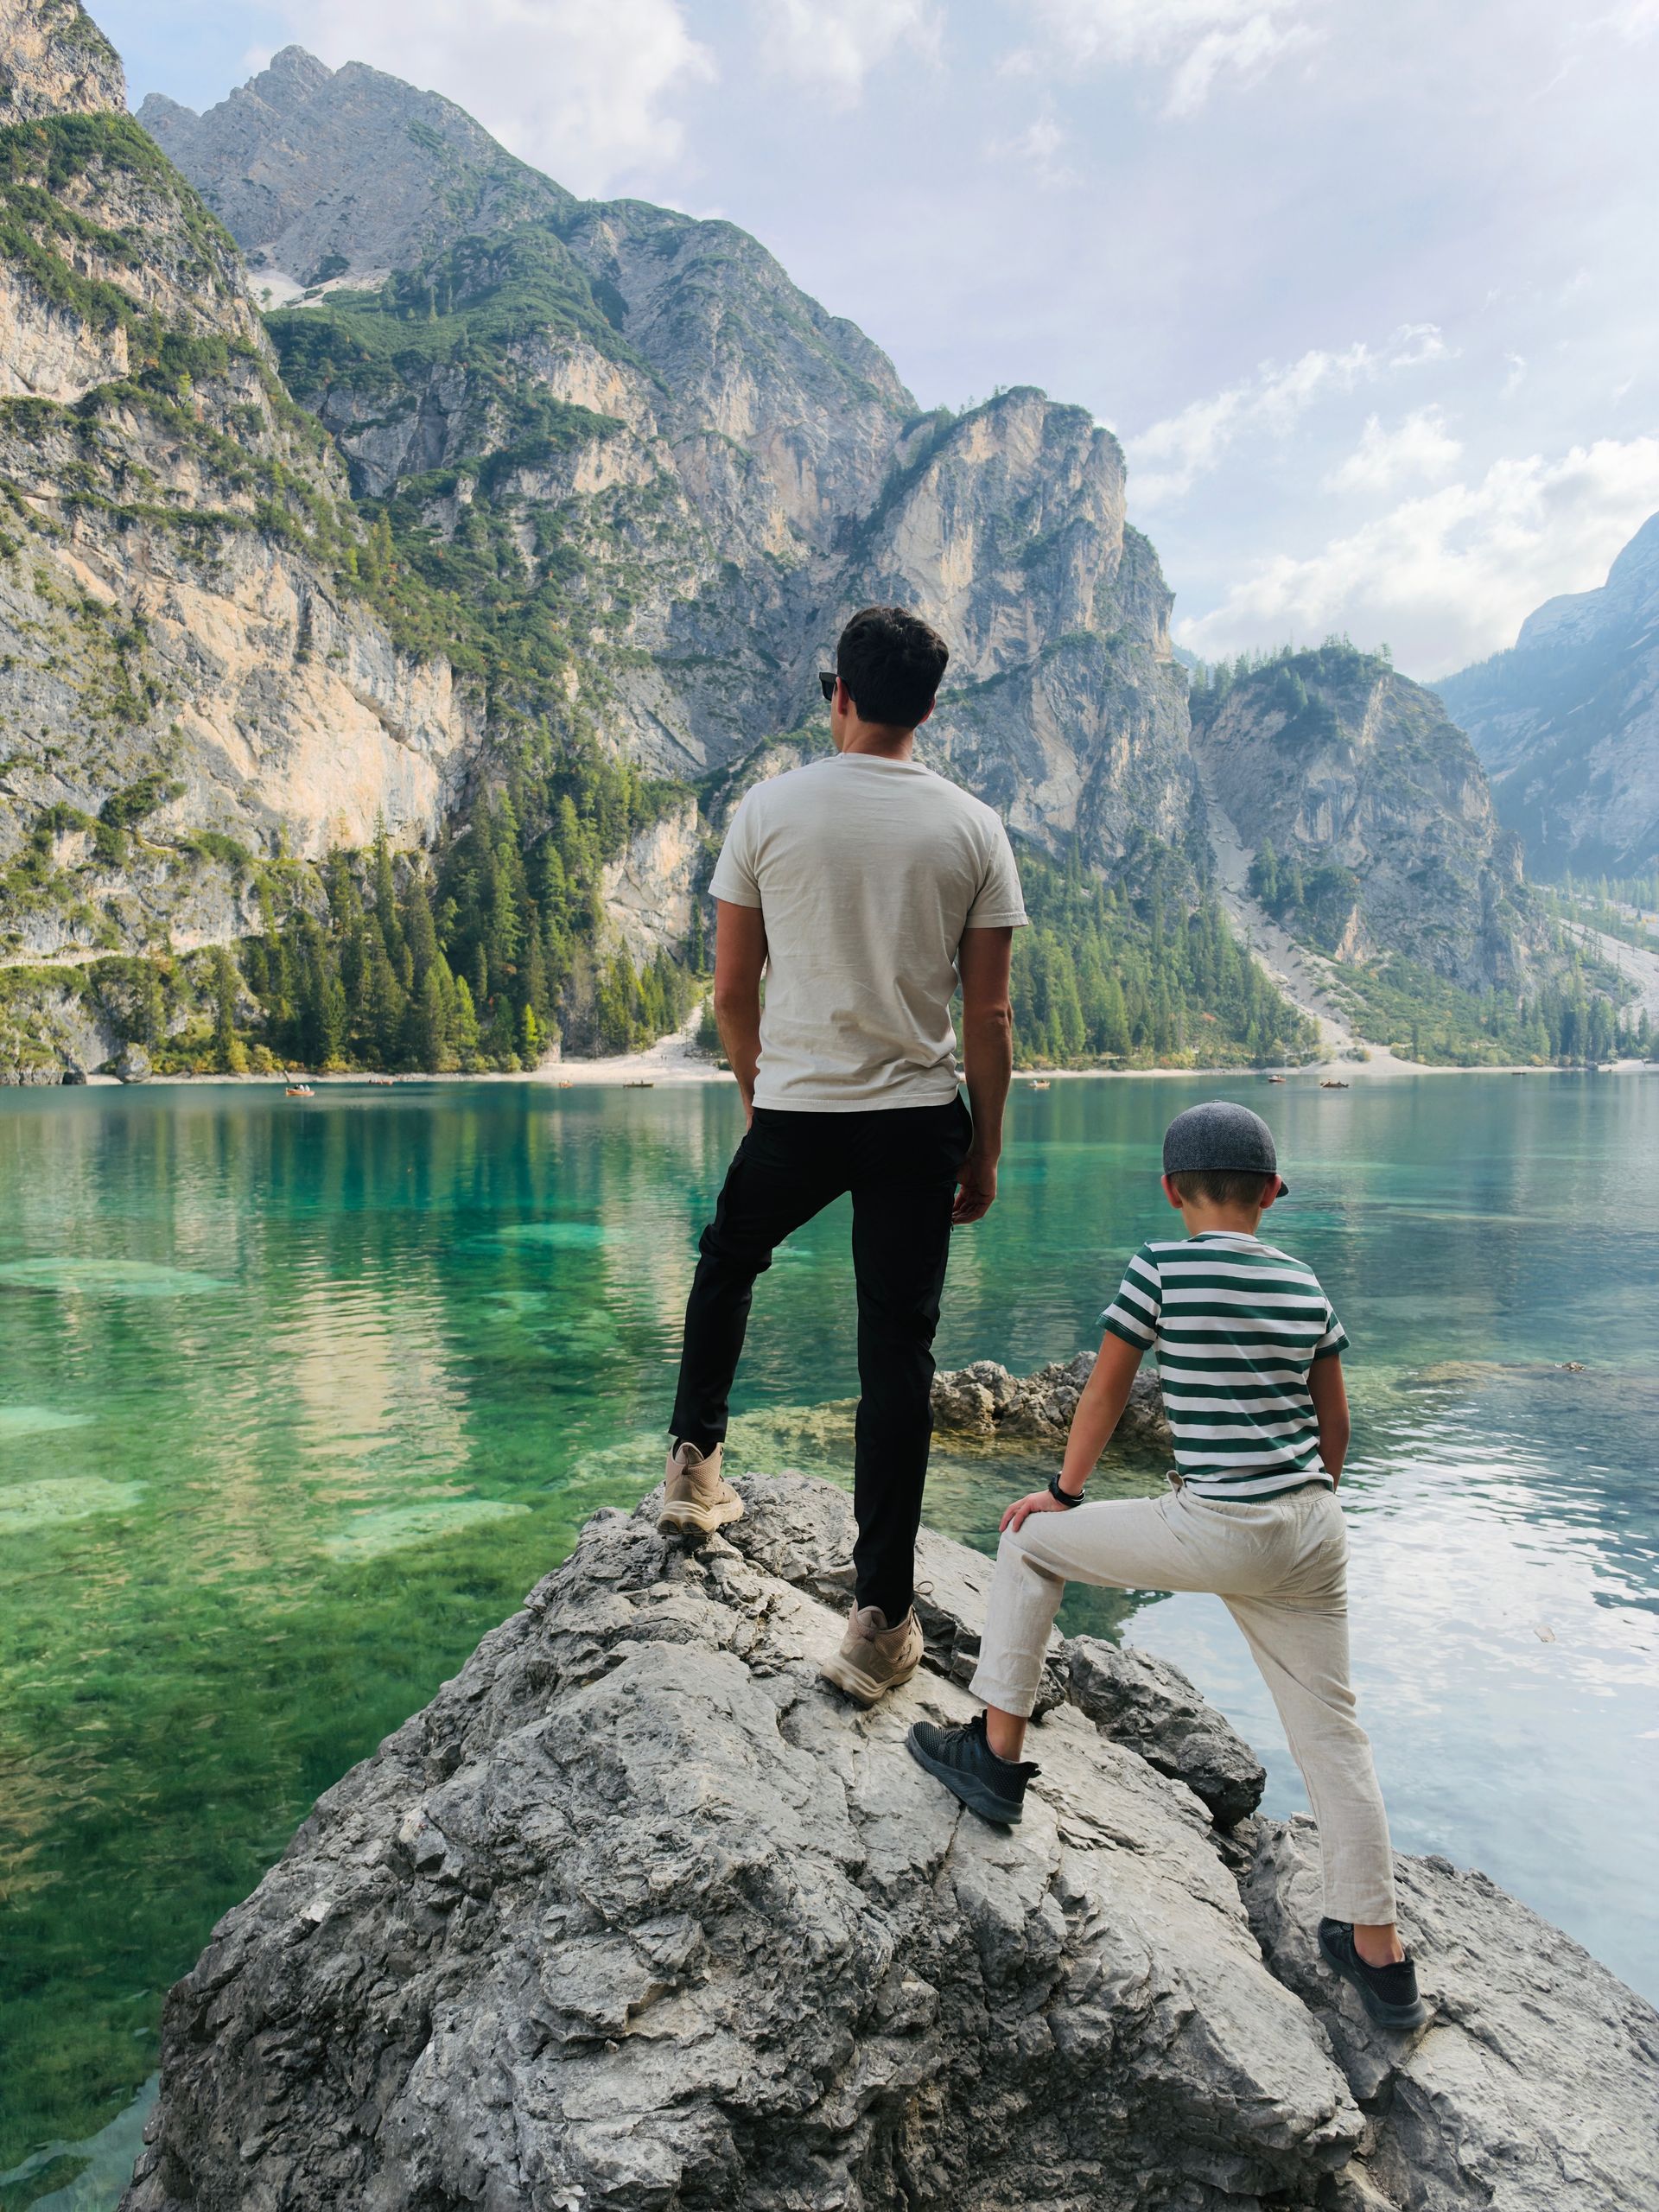
Lago di Braies
This is probably one of the most photographed lakes in the Dolomites, and I was excited to finally see it in person.
During the summer, this place is PACKED. There are even seasonal road restrictions that limit when you can drive directly to the lake, so definitely research those if you’re visiting during peak season.
Thankfully, visiting in October meant the crowds weren’t nearly as bad.
It was still busy, but nothing crazy!
We were able to park really close to the lake and had only about a 3-minute walk to the water. I believe parking was around €20.
The lake itself is beautiful, and you can hike all the way around it in about an hour.
They also have those famous wooden rowboats you see all over Instagram. I believe it was around €80 for a 45-minute rental when we visited.
We decided to skip the boats.
We had already been out on a rowboat in Norway surrounded by beautiful glacial blue water, so we decided to save the money this time.
Plus, the wait was around 45 minutes! I can’t even imagine how long the lines must get during the summer.
We spent about 2 hours here wandering along the trail, exploring the beach, and taking pictures.
Here’s my opinion.
If you’ve never seen a beautiful turquoise alpine lake before, I can absolutely see why this place would blow you away.
That’s exactly how we felt when we visited Norway!
The difference is that in Norway, we found that incredible blue water EVERYWHERE, and most of the places we visited were completely free.
Don’t get me wrong. Lago di Braies is beautiful, and I’m glad we went. But after experiencing Norway, it didn’t quite have that same WOW factor for us.
My rating: 7/10.
I can’t properly rate Klammbachalm since we never actually got to eat at the refuge. The hike itself was pretty, but considering how much we spent on the gondola, it was definitely disappointing.
Back to Caravan Park Sexten
After Lago di Braies, we headed back to our campground, went swimming, and called it a night.
The next morning, we were supposed to check out of Sexten and head to another part of the Dolomites, where we had booked another luxury campground for 3 nights.
But I’ll be honest.
After spending a TON of money on gondolas, dealing with cloudy weather, and completely messing up our Klammbachalm adventure, I was starting to feel like maybe it was time to say goodbye to the Dolomites.
I reached out to our next campground, Vidor, to ask about their cancellation policy.
They told us we would have to forfeit our €100 deposit if we canceled.
At that point, we decided we might as well stick with our original plans and experience another part of the Dolomites.
Well…
We woke up the next morning to discover that they had CANCELED OUR RESERVATION WITHOUT ASKING US!
I guess they thought my cancellation inquiry meant we actually wanted to cancel. 😂
We took that as our sign.
It was officially time to PIVOT!
And that’s how our Italian Dolomites road trip unexpectedly turned into something completely different.
Where did we end up going?
You’ll have to wait for Part 2!
This blog post is getting LONG, so I’m going to turn our 11-day European road trip into a two- or maybe even three-part series.
Stay tuned because our next adventure takes us somewhere we hadn’t originally planned!
Connect with me on Instagram!
See more fun travel posts!
Jetset With Johnsons